

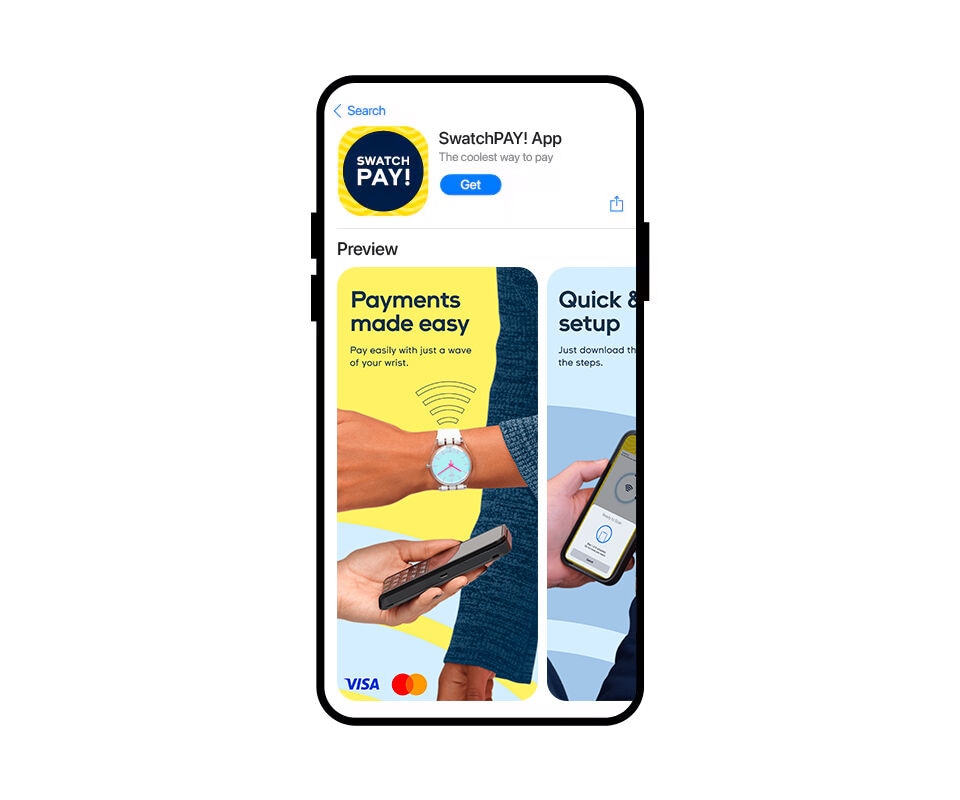

ดาวน์โหลดแอป SwatchPAY! และสร้างบัญชี
ดาวน์โหลดแอป SwatchPAY! ลงบนสมาร์ทโฟนผ่านทางลิงก์ด้านล่าง จากนั้น สร้างบัญชีเพื่อเริ่มต้น


เริ่มเปิดใช้งาน
เลือกวิธี “เปิดใช้งานด้วยสมาร์ทโฟน” จากนั้น แนบด้านหน้าของนาฬิกาไว้ข้างหลังสมาร์ทโฟนจนกว่าจะเชื่อมต่อสำเร็จ


เลือกนาฬิกา SwatchPAY! ของคุณ
ดูรายชื่อรุ่นนาฬิกาและเลือกรุ่นนาฬิกาของคุณ


เพิ่มบัตรชำระเงินของคุณ
หลังจากเลือกนาฬิกา SwatchPAY! ของคุณแล้ว ก็ถึงเวลาตั้งค่าบัตรชำระเงิน เพียงแค่ใช้สมาร์ทโฟนสแกนบัตร หรือเลือกกรอกรายละเอียดบัตรด้วยตนเอง


ดำเนินการตามขั้นตอนในแอป
หลังจากเปิดใช้งานบัตรบนนาฬิกา SwatchPAY! ของคุณแล้ว ธนาคารจะแจ้งวิธียืนยันตัวตนให้คุณทราบ


ตั้งค่าสำเร็จแล้ว!
เพียงเท่านี้ คุณก็พร้อมชำระเงินแบบไร้สัมผัสโดยใช้ SwatchPAY! แล้ว